 The Prep Nest
Water Bath Canning: What It Can Preserve, and What It Must Never Touch
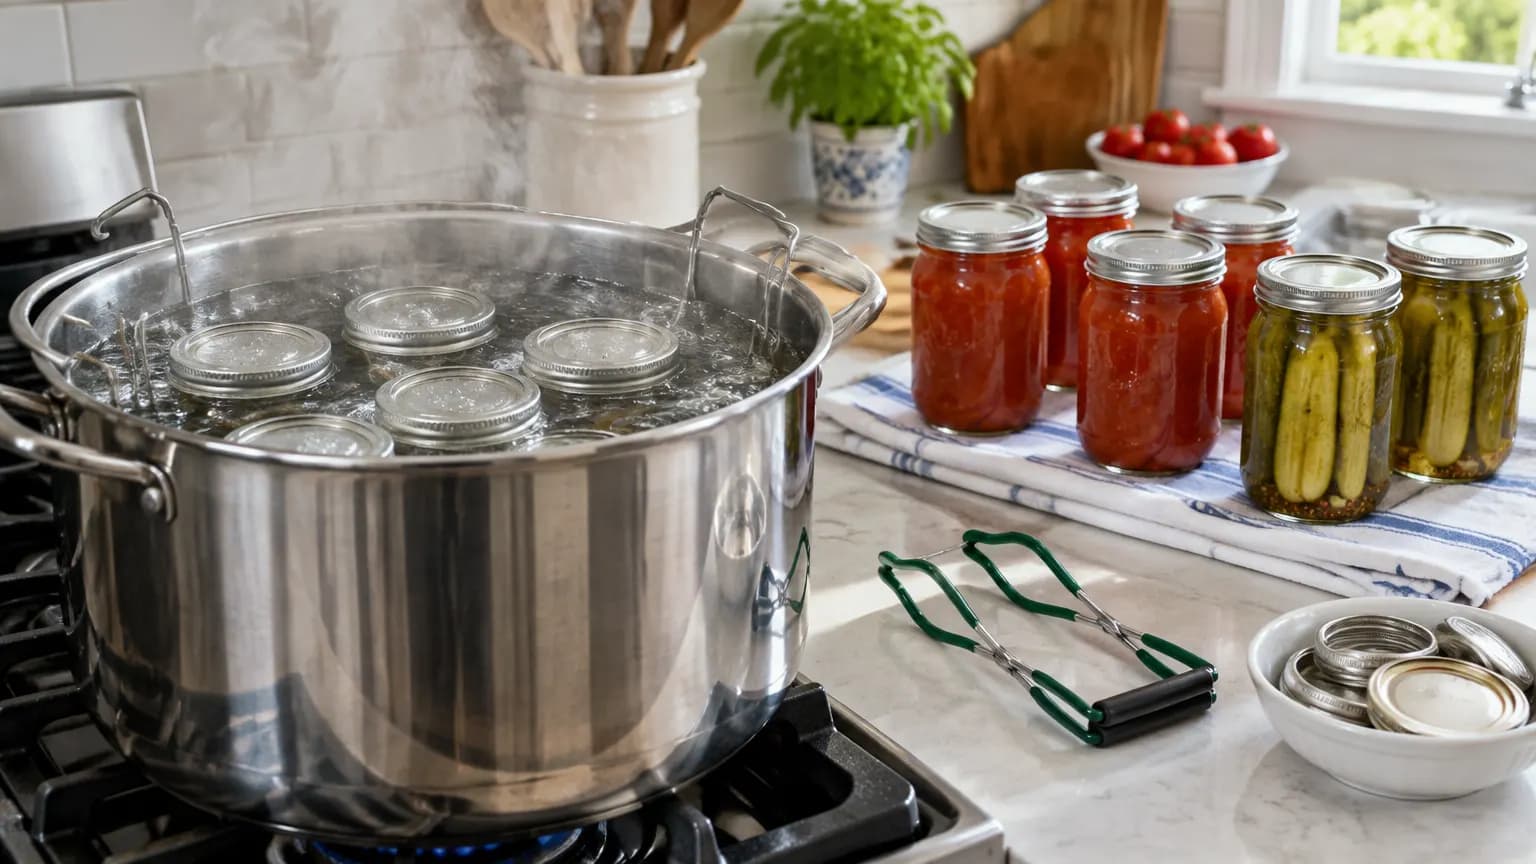
Water bath canning needs a large pot, a rack, jars, and a stove. That is genuinely the whole equipment list, which is why it is where almost everyone starts, and why a shelf of home-canned food is one of the cheapest forms of real preparedness there is. It is also the technique with a hard safety boundary, so it is worth understanding the boundary before the recipes.
The rule is this: water bath canning is only for high-acid foods, meaning a pH of 4.6 or below. Fruits, jams and jellies, pickles, relishes, chutneys, and anything preserved in sufficient vinegar all qualify. Low-acid foods, which means most vegetables, all meats, poultry, fish, beans, corn, and plain green beans, must be processed in a pressure canner instead. This is not a preference or a tradition. It is the difference between food and a hazard.
The reason is a bacterium called Clostridium botulinum. Its spores are common and harmless in soil and on produce, and they survive boiling: a water bath reaches 212 degrees Fahrenheit, and the spores do not care. What they need to become dangerous is an environment that is low in acid, free of oxygen, and at room temperature, which is a precise description of the inside of a sealed jar of low-acid food. There they can produce botulinum toxin, which is among the most potent poisons known and which leaves no smell, no taste, and often no visible sign. A pressure canner solves it by reaching around 240 degrees, hot enough to destroy the spores themselves.
Tomatoes are the exception that catches people, because they sit right at the boundary and many modern varieties test above 4.6. This is why tested recipes call for adding acid to tomatoes before water bath canning, typically bottled lemon juice or citric acid, in a measured amount per jar. Bottled rather than fresh, because bottled juice has a consistent acidity and a lemon from the shop does not. If a family recipe from decades ago omits this step, it predates the varieties on sale now.
Which leads to the most important habit in home canning: use tested recipes and follow them as written. The National Center for Home Food Preservation at the University of Georgia publishes processing times free online, and the Ball Blue Book covers the same ground in print. These are not suggestions about flavour, they are laboratory-determined times for a specific food at a specific jar size. Scaling a jar up, packing it denser, or reducing the vinegar changes how heat penetrates, and the tested time no longer applies.
Altitude changes the arithmetic too, because water boils cooler as you go up. Above roughly 1,000 feet, processing times increase, and every tested recipe includes a table for it. Skipping the adjustment is a quiet way to under-process an entire batch.
The process itself is straightforward once the recipe is chosen. Inspect jars for chips or cracks and heat them so they do not crack on contact with hot food. Fill to the headspace the recipe specifies, since too little leaves air that prevents a seal and too much can make the contents boil out. Run a tool around the inside to release trapped air bubbles, wipe the rim absolutely clean, and fit a new flat lid with a ring, finger tight and no tighter, so air can escape during processing. Lower the jars onto the rack with at least an inch of water above them, start timing from a full rolling boil, and lift them out to cool undisturbed on a towel for twelve to twenty-four hours.
Flat lids are single use, every time. The sealing compound deforms to your jar rim and will not do it reliably twice. Rings are reusable indefinitely, and the correct way to store a sealed jar is with the ring removed, because a seal that fails later is obvious on a bare jar and hidden under a ring.
Check every seal before it goes on the shelf: the lid should be slightly concave and should not flex when pressed. Anything that did not seal goes in the refrigerator and gets eaten within a few days, not back into the pot. Label with contents and date, store somewhere cool and dark, and rotate on the first in, first out principle like the rest of the pantry.
Finally, the disposal rule, which is the one worth memorising. If a jar is bulging, leaking, spurting when opened, cloudy when it should not be, mouldy, or simply smells wrong, throw it out without tasting it. Never taste-test to check. Botulinum toxin can be present with no sign at all, which is precisely why the acidity rule above is not negotiable, and why when in doubt the answer is always to throw it out.
Recommended gear for this guide
Picks from our Gear Guide that cover what this article talks about. Affiliate links; see our disclosure.
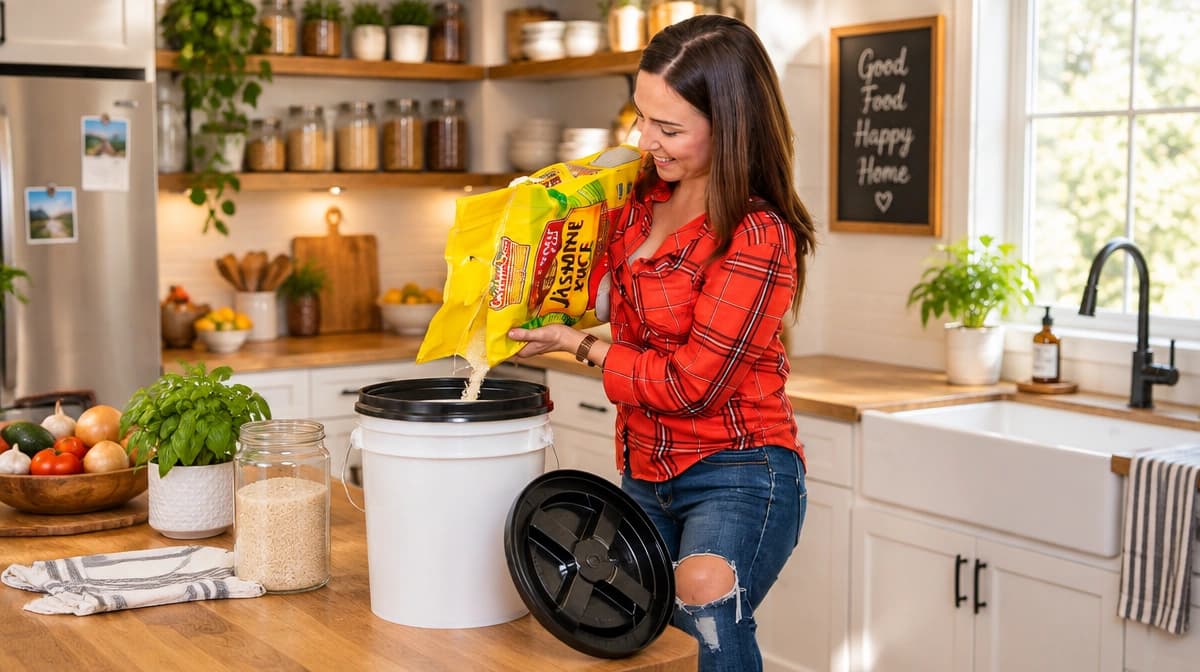
Airtight bucket lid
$Vittles Vault Gamma Seal Lid
Turns any standard 3.5 to 7 gallon food-grade bucket into an airtight, screw-top container for bulk rice, beans, and flour.
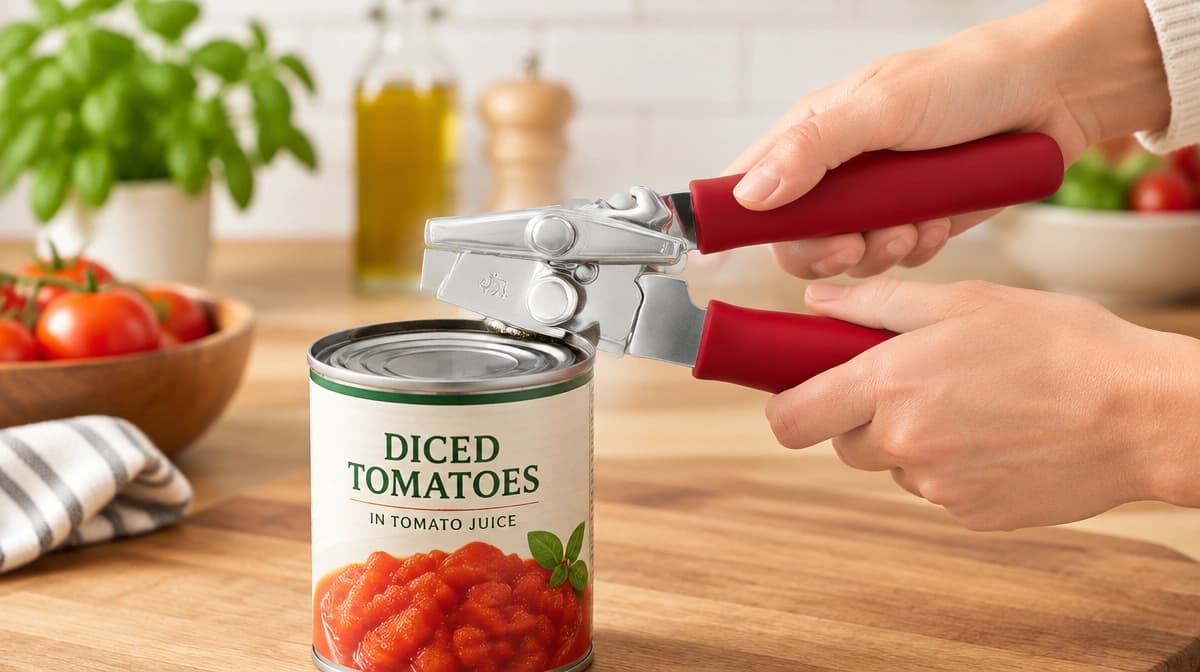
Manual can opener
$Swing-A-Way Portable
Cheap, easy to overlook, and useless to not have when the power is out. This one has been in production for decades for a reason.
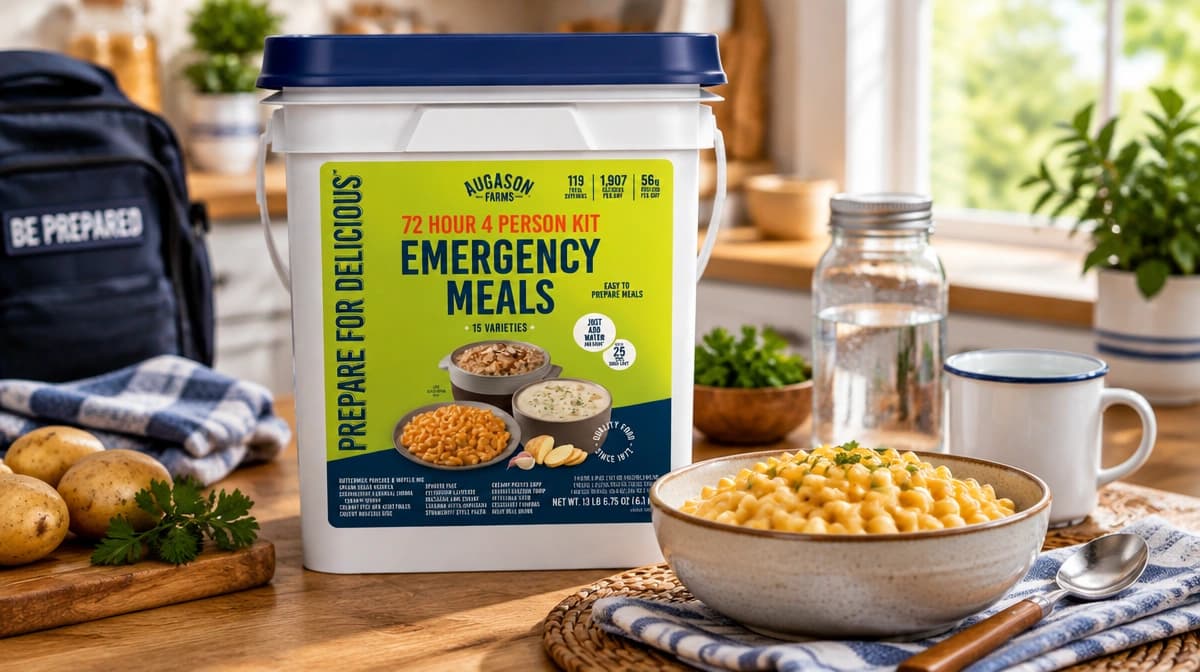
Freeze-dried meal kit
$$Augason Farms 4-Person 72-Hour Kit
Long shelf life with minimal prep: add water and eat. Covers a family of four for the critical first three days.
Keep reading
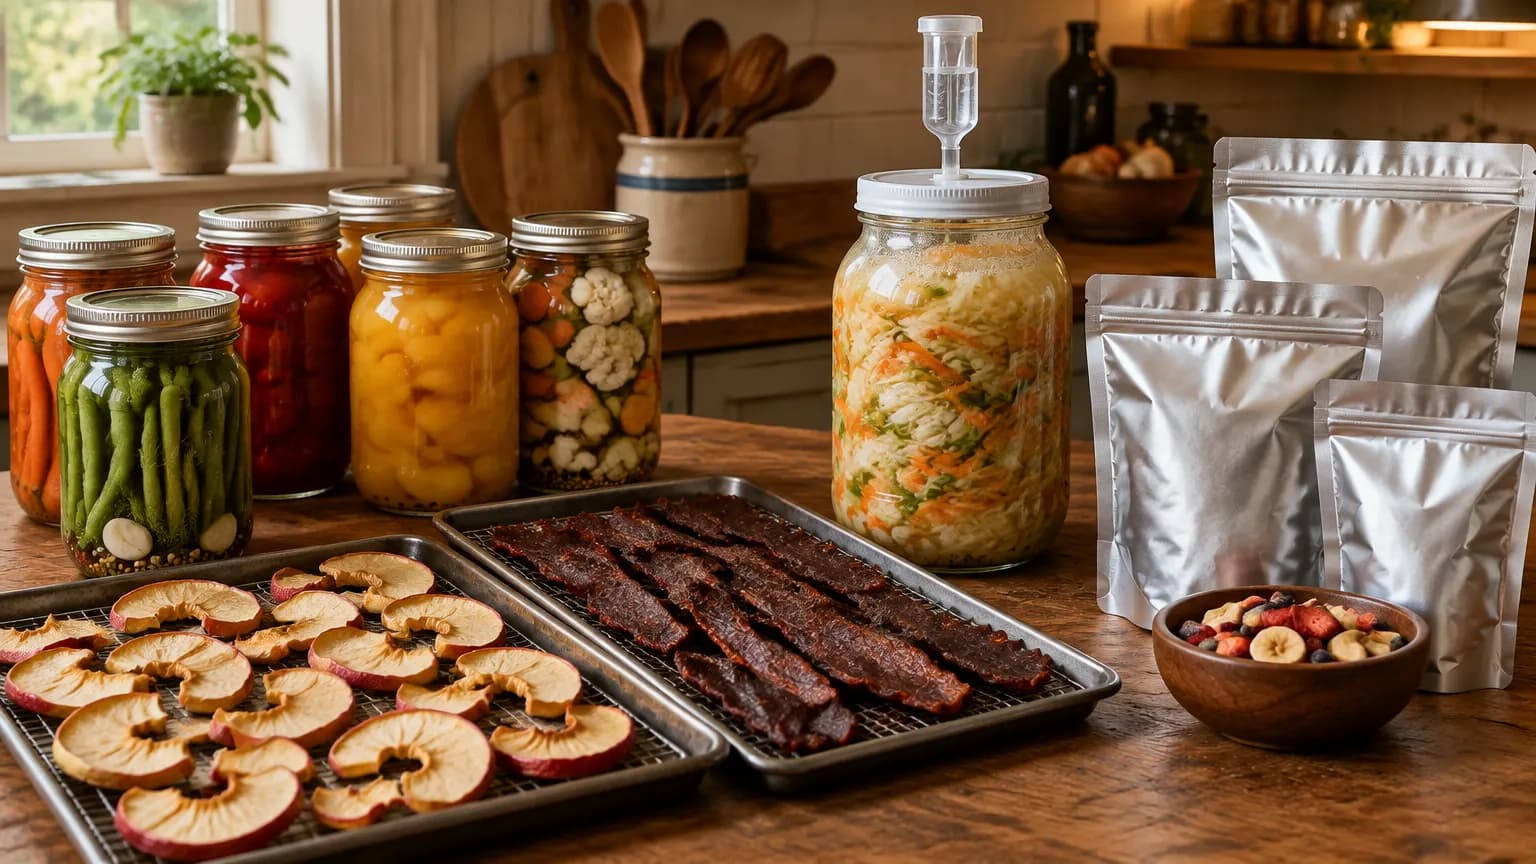
Food Preservation Compared: Canning, Dehydrating, Freeze Drying, Fermenting
Five ways to make food last, with honest shelf lives, real equipment costs, and the one method that fails precisely when you need it most.
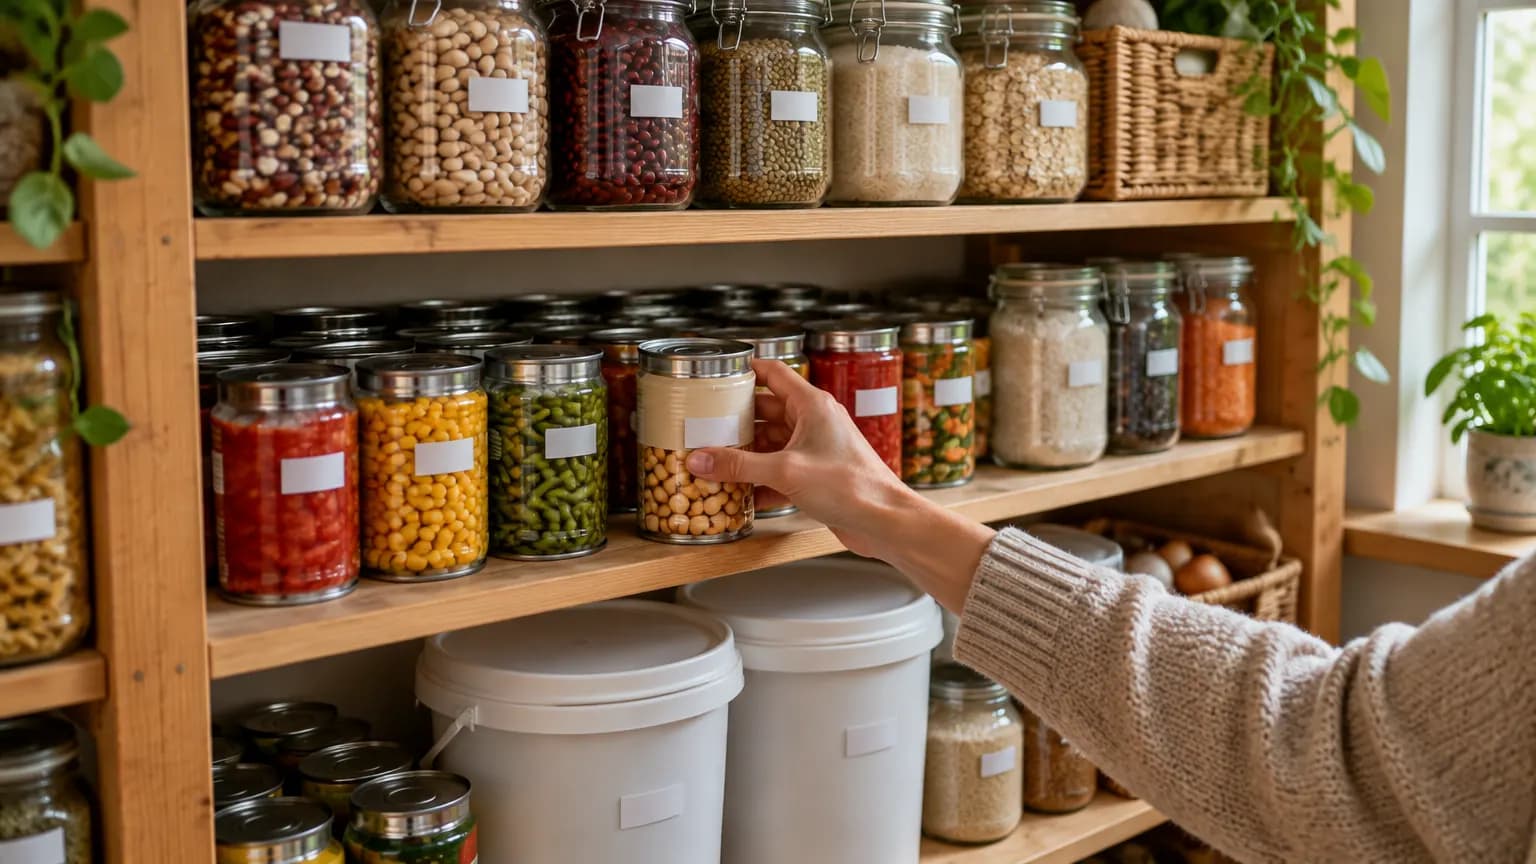
First In, First Out: A Sustainable System for Rotating Your Food Storage
A prep pantry that isn't rotated becomes an expired-food museum. Here's a simple system that keeps everything usable.
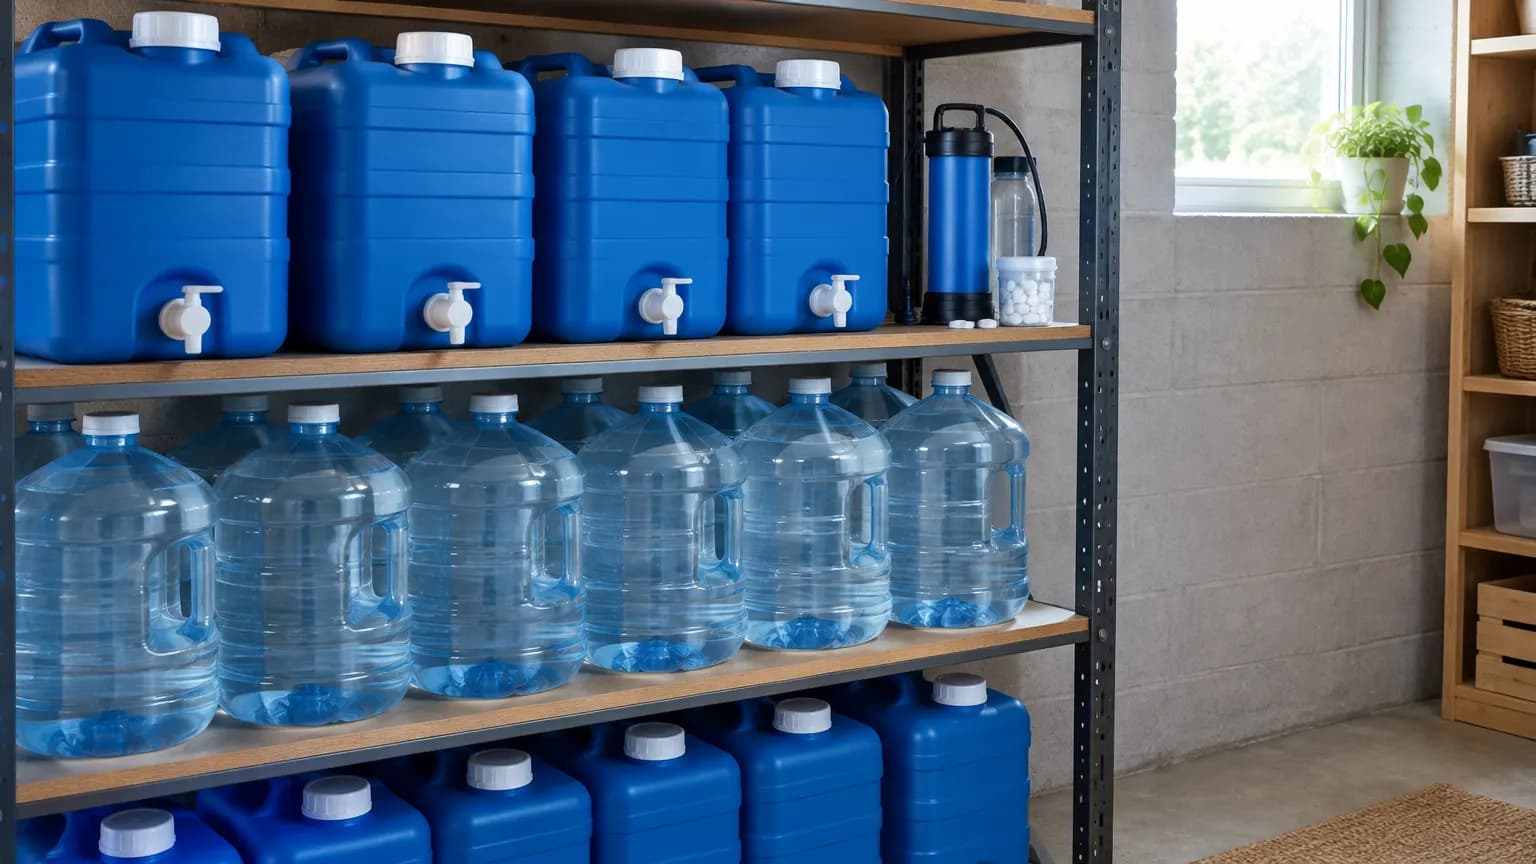
How Much Water Should You Really Store? A Complete Guide
Water is the single most important resource in any emergency plan, and the one people most consistently under-budget for. Here's how to size your storage correctly.